• Skip to primary navigation
  • Skip to main content
  • Skip to primary sidebar
Hip Foodie Mom
  • Home
  • About Alice
  • Recipes
    • Popular Recipes
    • Quick Meals
    • Healthy Recipes
    • Gluten Free
    • Appetizers
      • Soups
      • Salads
    • Dinner
      • Asian Food
      • Beef
      • Korean Food
      • Pork
      • Poultry
      • Pasta
      • Pizza
      • Sushi
      • Vegetarian
    • Desserts
      • Brownies
      • Cakes
      • Cookies
      • Cupcakes
      • Ice Cream
    • Drinks / Cocktails
    • Browse All
  • Videos
    • Recipe Videos
    • YouTube Channel
  • Press
  • Work With Me
  • Family
  • Meal Planning
  • Contact

MOMOFUKU PORK BELLY

January 20, 2022 by hipfoodiemom 5 Comments

148 shares
  • Facebook
  • X
Jump to Recipe Print Recipe

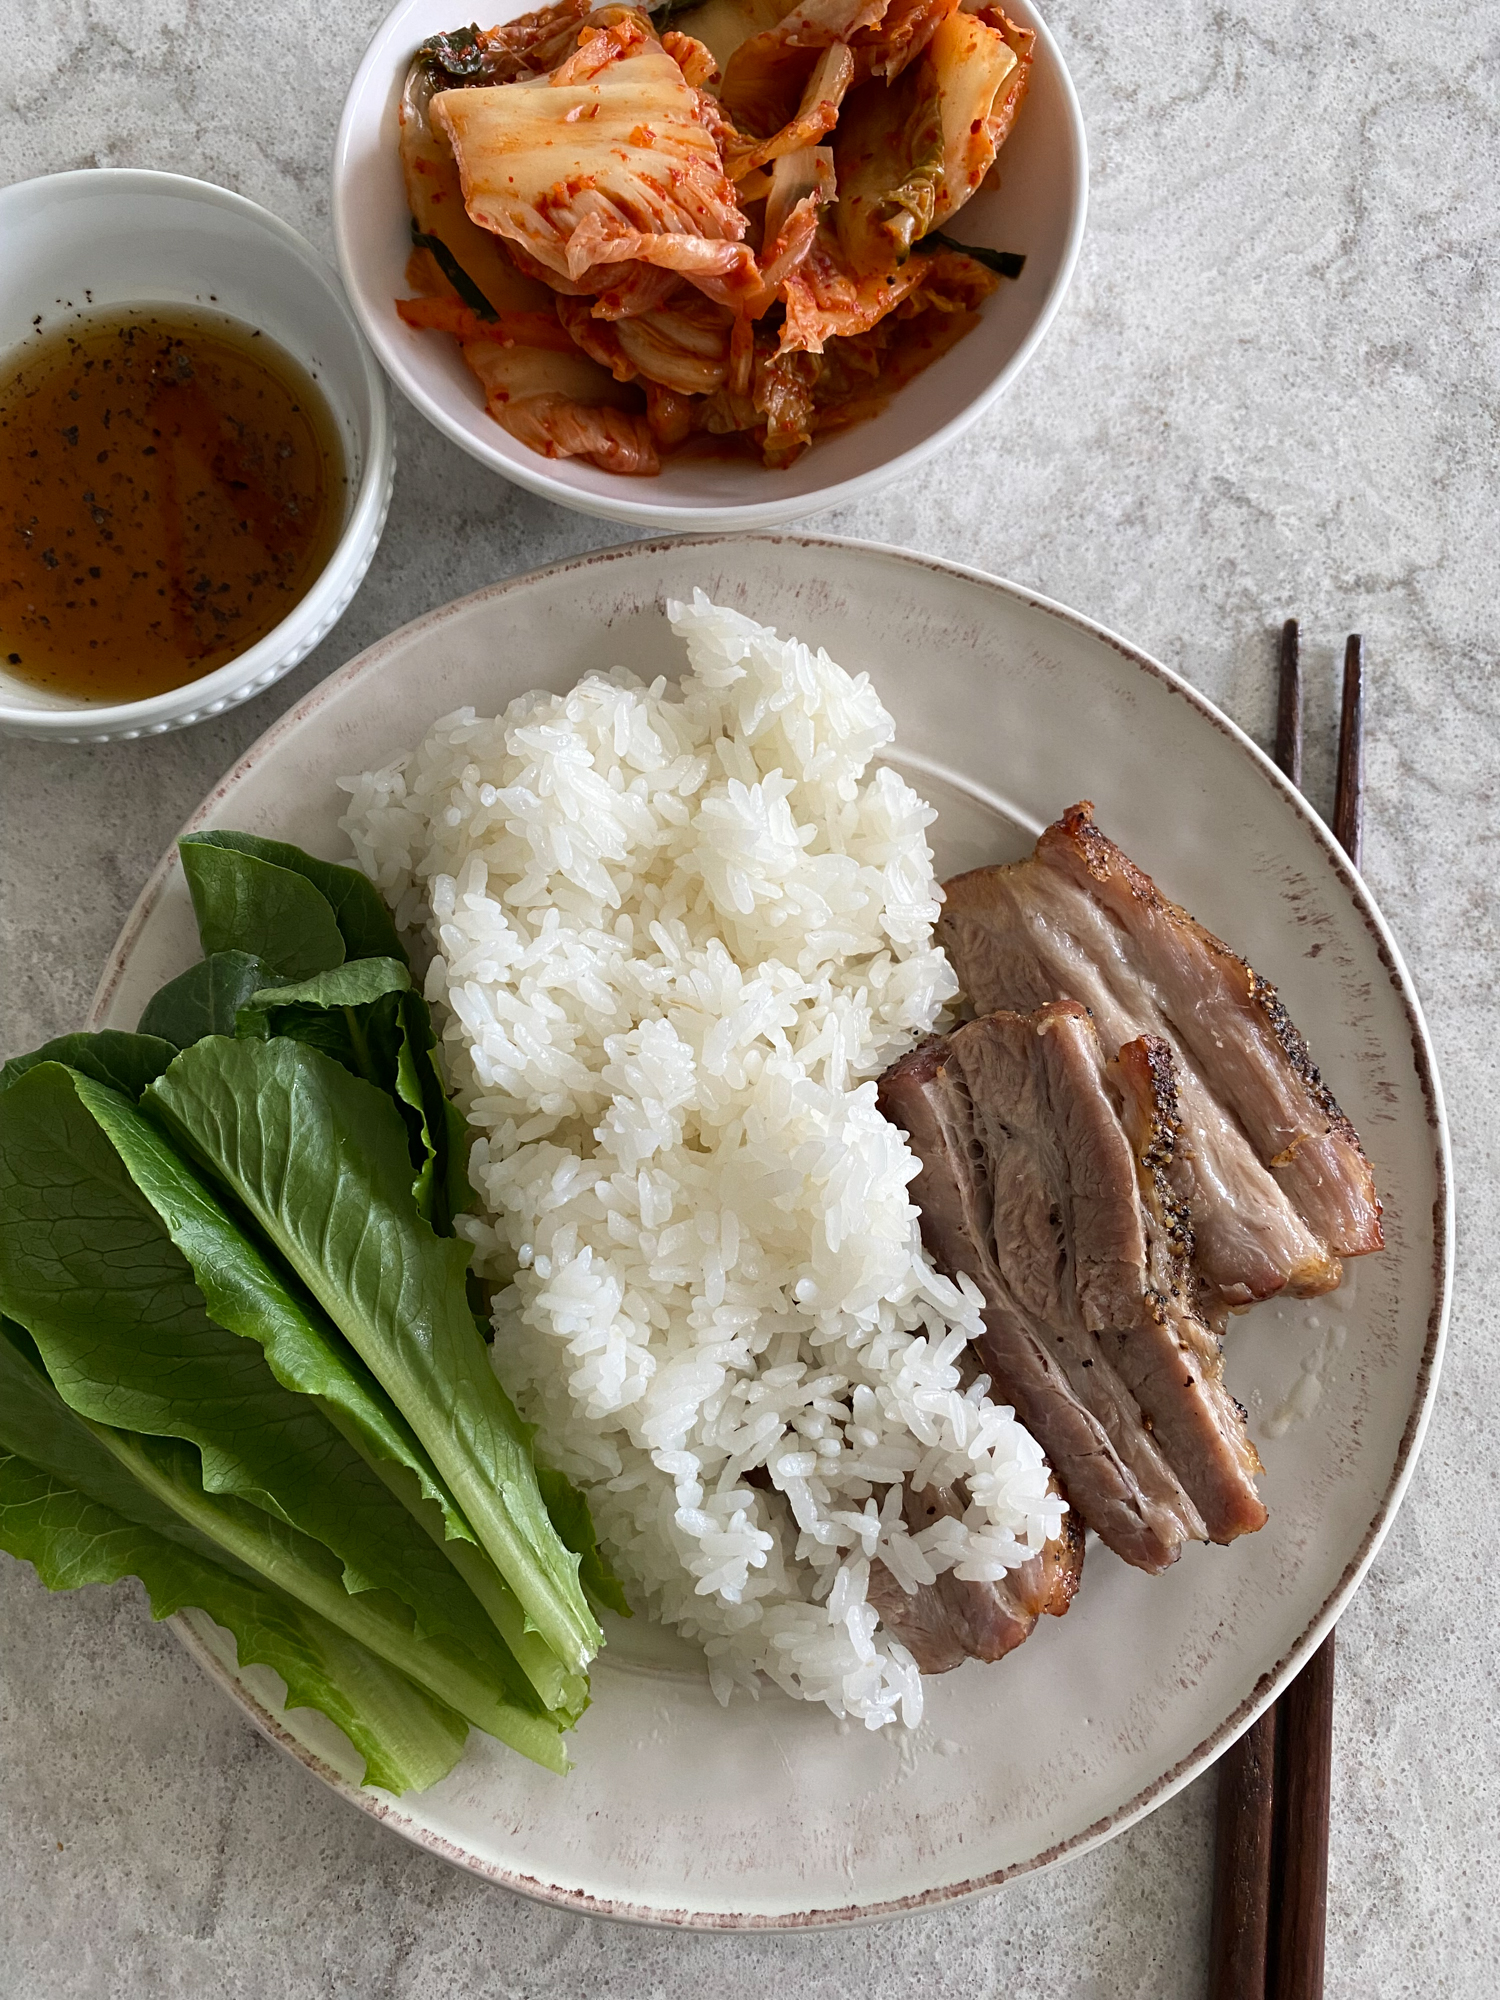
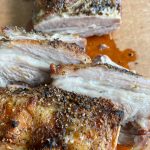
Momofuku Pork Belly. A super easy and straightforward recipe that requires very little work and gives you the most delicious pork belly ever. 

We had this for the first time when my friend, Jane, made some for us while we were visiting her last summer. This recipe is so incredibly easy to make. Pro tip: if you can: buy skinless pork belly. If not, you’ll have to remove the skin like I did. It’s not hard to remove but I didn’t do a very pretty job. The pork belly was still super delicious so either way, it will all be ok and the pork will be tasty!

MOMOFUKU PORK BELLY

From what I can find, there are two recipes online that say they are the Momofuku Pork Belly recipe. This one and this one.

The first one says they got the recipe from the actual chef in the kitchen at Momofuku. Glebekitchen.com says to: Skin the pork belly, do a 12-hour cure of salt, sugar and pepper, and bake at 290 F to an internal temperature of 190F. 

From the Momofuku Cookbook by David Chang

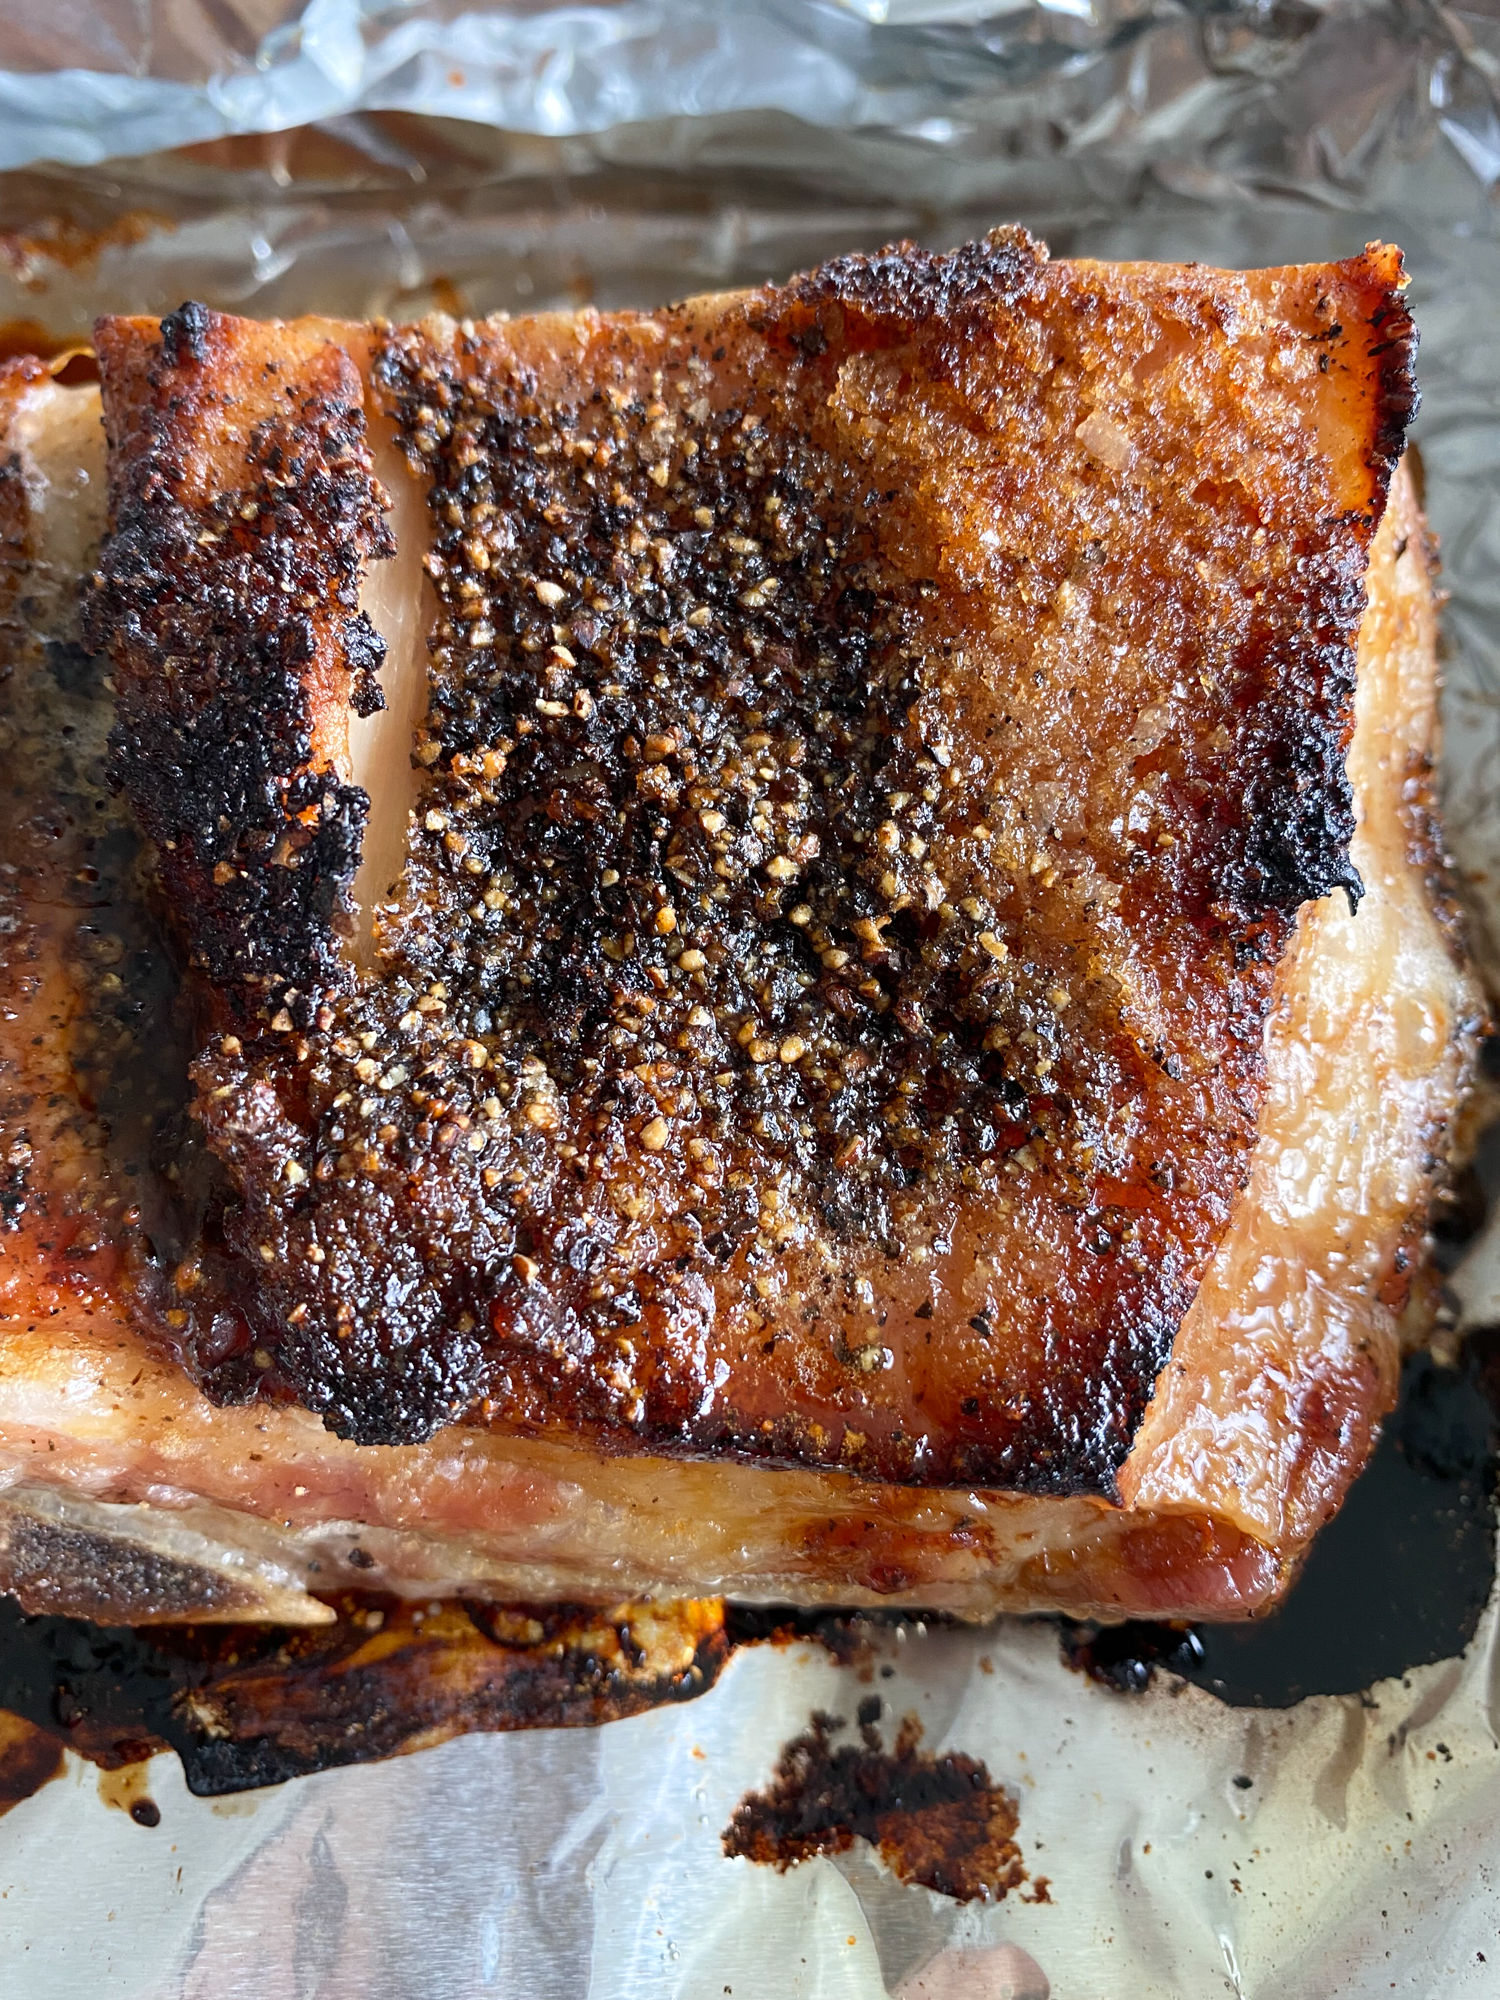
The next recipe, which I adapted, says it’s from the Momofuku Cookbook by David Chang. It says to heat the oven to 450F, fat side up, and cook for 1 hour, basting it with the rendered fat at the halfway point, until it’s an appetizing golden brown. And then you turn the oven temperature down to 250F and cook for another 1 hour to 1 hour 15 minutes, until the belly is tender. 

A lot of the comments say you’ll end up “burning the crap out of your pork and pan.” Check out my recipe below and I hope you try this!

Print Recipe
4.50 from 2 votes

Momofuku Pork Belly

This is an adaptation from the epicurious.com recipe, which is supposed to be from the Momofuku Cookbook by David Chang
Prep Time20 hours hrs
Cook Time1 hour hr 15 minutes mins
Total Time21 hours hrs 15 minutes mins
Course: Appetizers or Main
Cuisine: Asian
Keyword: momofuku, momofuku pork belly, pork belly
Servings: 6
Author: hipfoodiemom

Ingredients

  • 1 (3 lbs.) slab skinless pork belly
  • 1/4 cup kosher salt  try to use the diamond crystal brand
  • 2 tablespoons white granulated sugar
  • 1/2 tablespoon black pepper + more if desired

Instructions

  • Nestle the pork belly in a roasting pan or dish.  Sprinkle/coat the pork belly liberally with the salt, sugar and black pepper. Alternatively, you can also mix together the salt, sugar and black pepper in a small bowl and rub the mix all over the pork. Cover with plastic wrap and keep in fridge for at least 6 hours but no longer than 24 hours.
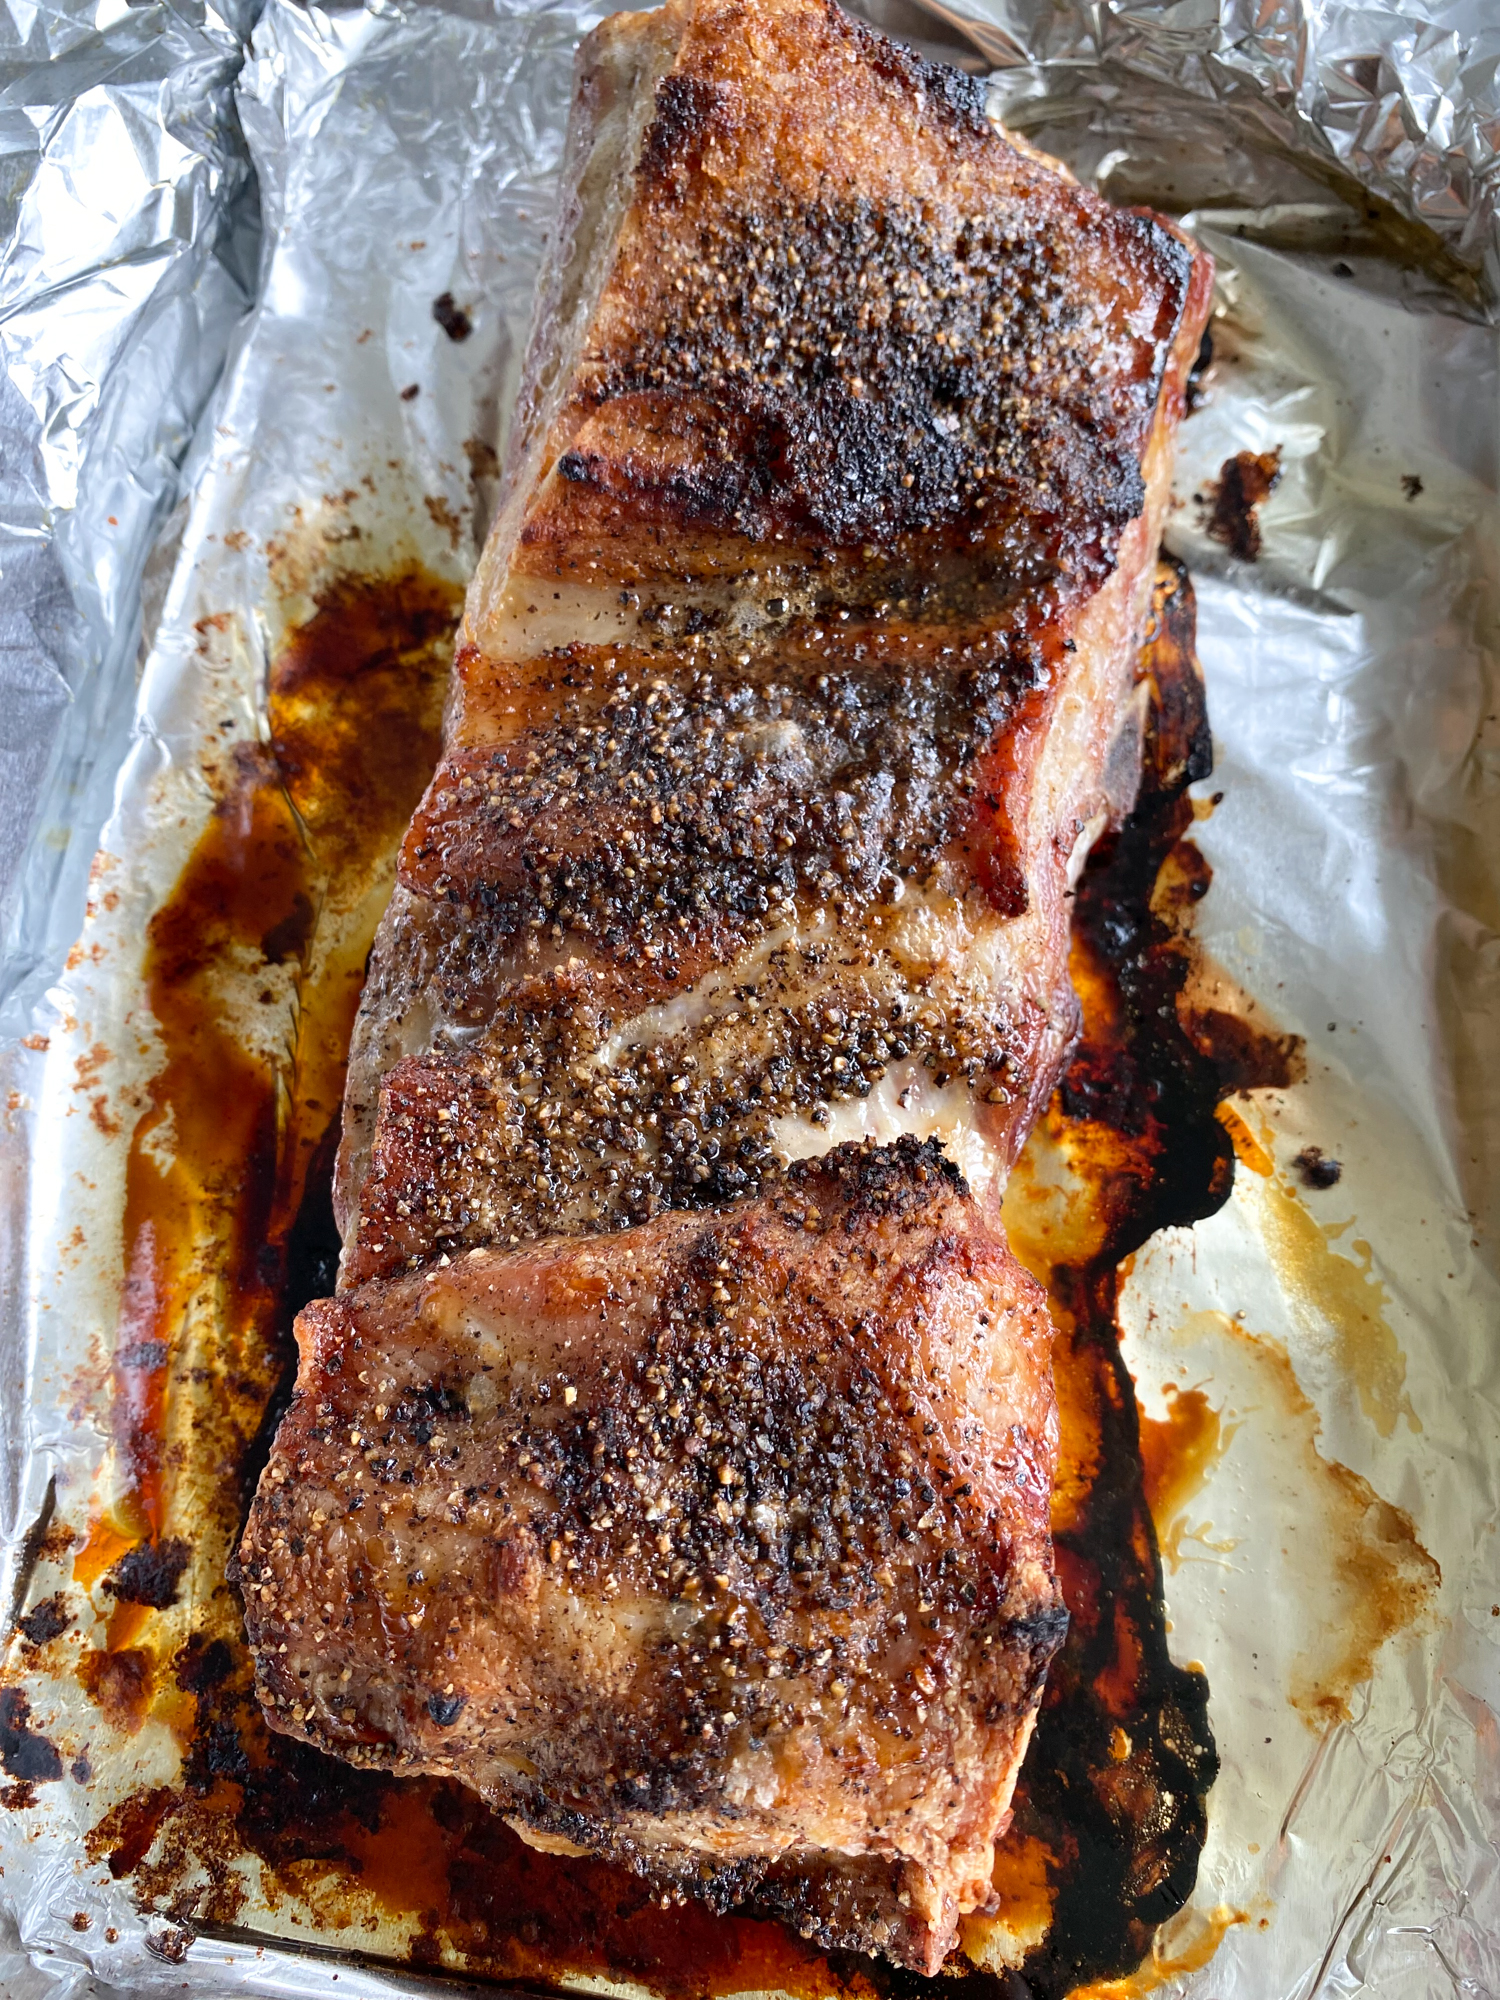
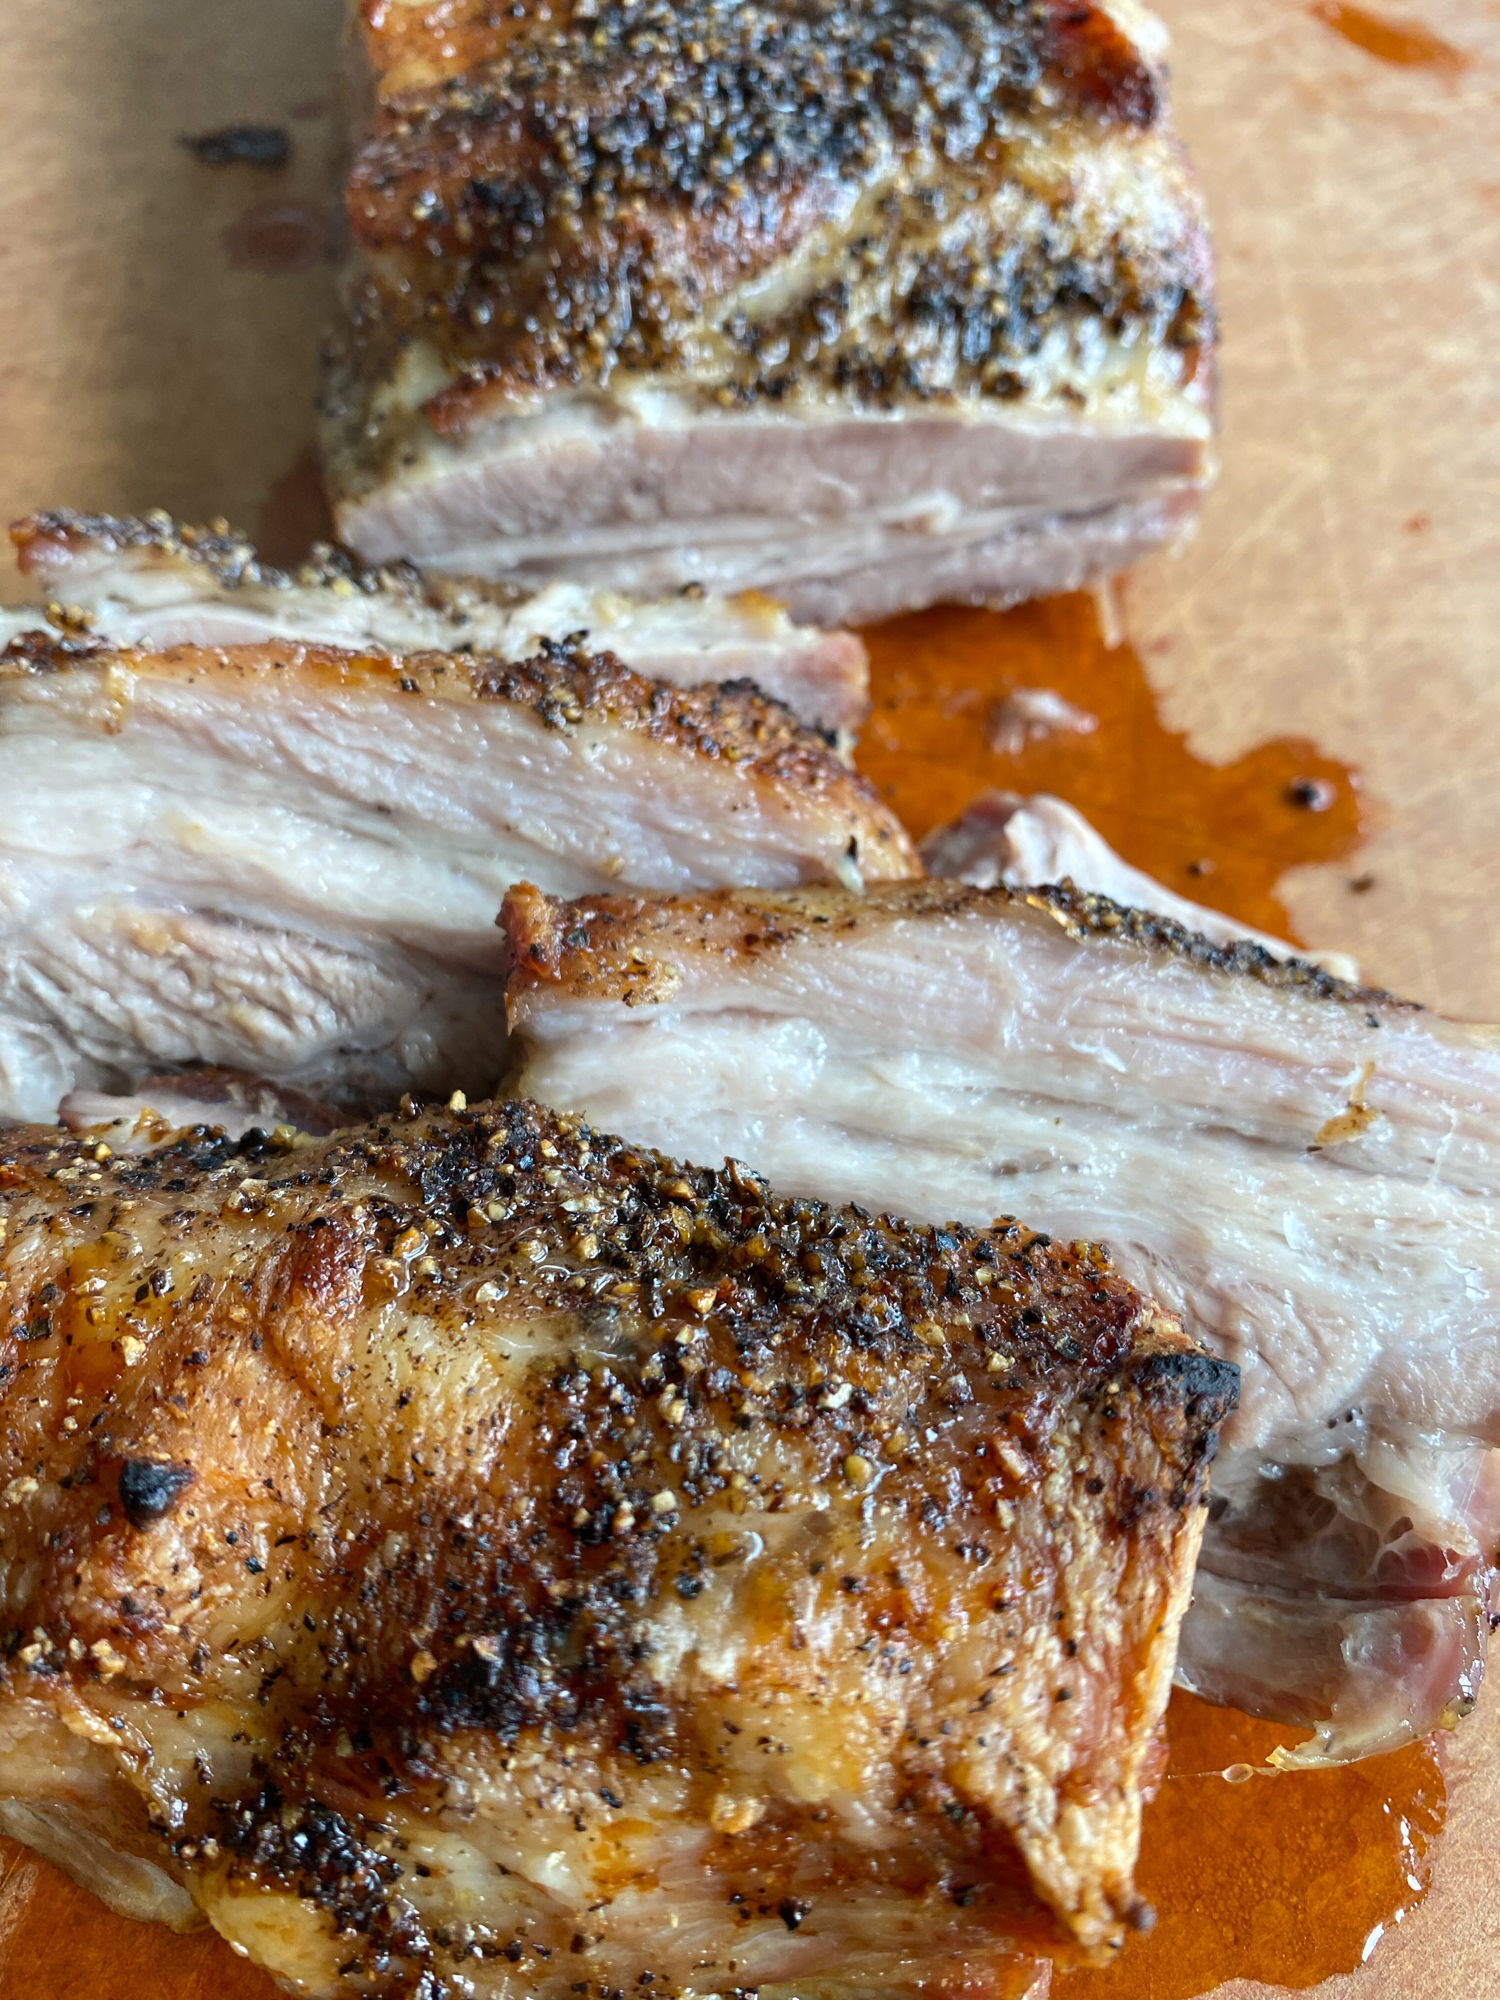
  • Preheat your oven to 450F. Discard any liquid that accumulated in the baking dish. Place the pork belly in the oven, fat side up, and cook for 35 minutes. Next, turn the oven temperature down to 250F and cook for another 30 to 45 minutes, or until the belly is tender - "it shouldn't be falling apart, but it should have a down pillow-like yield to firm finger poke." Remove the pan from the oven and transfer the belly to a cutting board. Allow the belly to cool slightly. Slice and enjoy!*

Notes

*From epicurious.com:
If you want the neat, clean slices, do this: "When it is cool enough to handle, wrap the belly in plastic wrap or aluminum foil and put in fridge until it's thoroughly chilled and firm. (You can skip this step if you are pressed for time, but the only way to get neat, nice-looking slices is to chill the belly thoroughly before slicing it.) Cut the pork belly into 1/2-inch thick slices that are about 2 inches long. Warm them for serving in a pan over medium heat, just for a minute or two, until jiggly soft and heated through.

You might also like...

  • Salmon with Spicy Citrus Dressing. Baked salmon with a delicious, slightly spicy, citrusy dressing, served over fresh spinach and arugula.

    Baked Salmon with Spicy Citrus Dressing

  • Apple, Quince & Riesling Glazed Heritage Ham by Chef Dan Fox from Fox Heritage Farms and Heritage Tavern. The perfect ham for the holidays!

    Apple, Quince & Riesling Glazed Heritage Ham

  • Best Ever Caprese Kabobs with Balsamic Glaze

    Best Ever Caprese Kabobs with Balsamic Glaze

Related

148 shares
  • Facebook
  • X

Filed Under: Appetizers, Asian, Meals, Pork

Previous Post: « Baked Brie with Apples Cinnamon and Honey
Next Post: Korean Marinated Spinach Banchan: Sigeumchi Namul »

Primary Sidebar

  • TikTok
  • Instagram
  • Pinterest
  • RSS
  • Twitter
  • YouTube
  • Facebook

Meet Alice

Alice Choi from Hip Foodie MomHello! My name is Alice. Here, at Hip Foodie Mom, you will find fresh food recipes using local, seasonal ingredients. From meat dishes to vegetarian to Asian inspired dishes, you are sure to find something you like. Thank you for stopping by!

Popular Posts

Cold Summer Ramen! Delicious flavorful ramen with no broth! Garnished with grilled zucchini and summer squash, corn, carrots, shaved papaya, cucumbers and more! It's so good!
Best Chunky Guacamole! Super simple and so easy to make! Ripe avocados, fresh lime juice and salt with finely diced red onions, tomatoes and cilantro.
Japanese Egg Sandwich (Tamago Sando)! Soft, creamy and so delicious! You might never want to make an egg sandwich any other way!
Loaded Sheet Pan Nachos! Packed with ground beef, and lot of cheese and vegetables, this one is a family favorite for sure! So easy to make!
Chunky Chicken Salad with Honey Mustard Dressing! Chicken breast, celery, pecans, apples and pears for sweetness and more! So delicious!
Baked Ziti Recipe! This baked ziti recipe is easy to make, super cheesy, and comforting. It's perfect for eating on a cold winter day!


Facebook | Twitter | Pinterest | Privacy Policy

Copyright © 2026 Hip Foodie Mom. All content, recipes and photographs are copyrighted to Alice Choi and are the property of Hip Foodie Mom. They may not be republished in part or whole without permission and proper credit. Contact me to seek republishing and syndication rights.

Copyright © 2026 Hip Foodie Mom on the Foodie Pro Theme

JOIN THOUSANDS OF FOOD LOVERS!!

Get a weekly newsletter with RECIPES delivered straight to your inbox for FREE!

Your information will *never* be shared or sold to a 3rd party, nor will we spam your inbox.