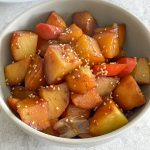
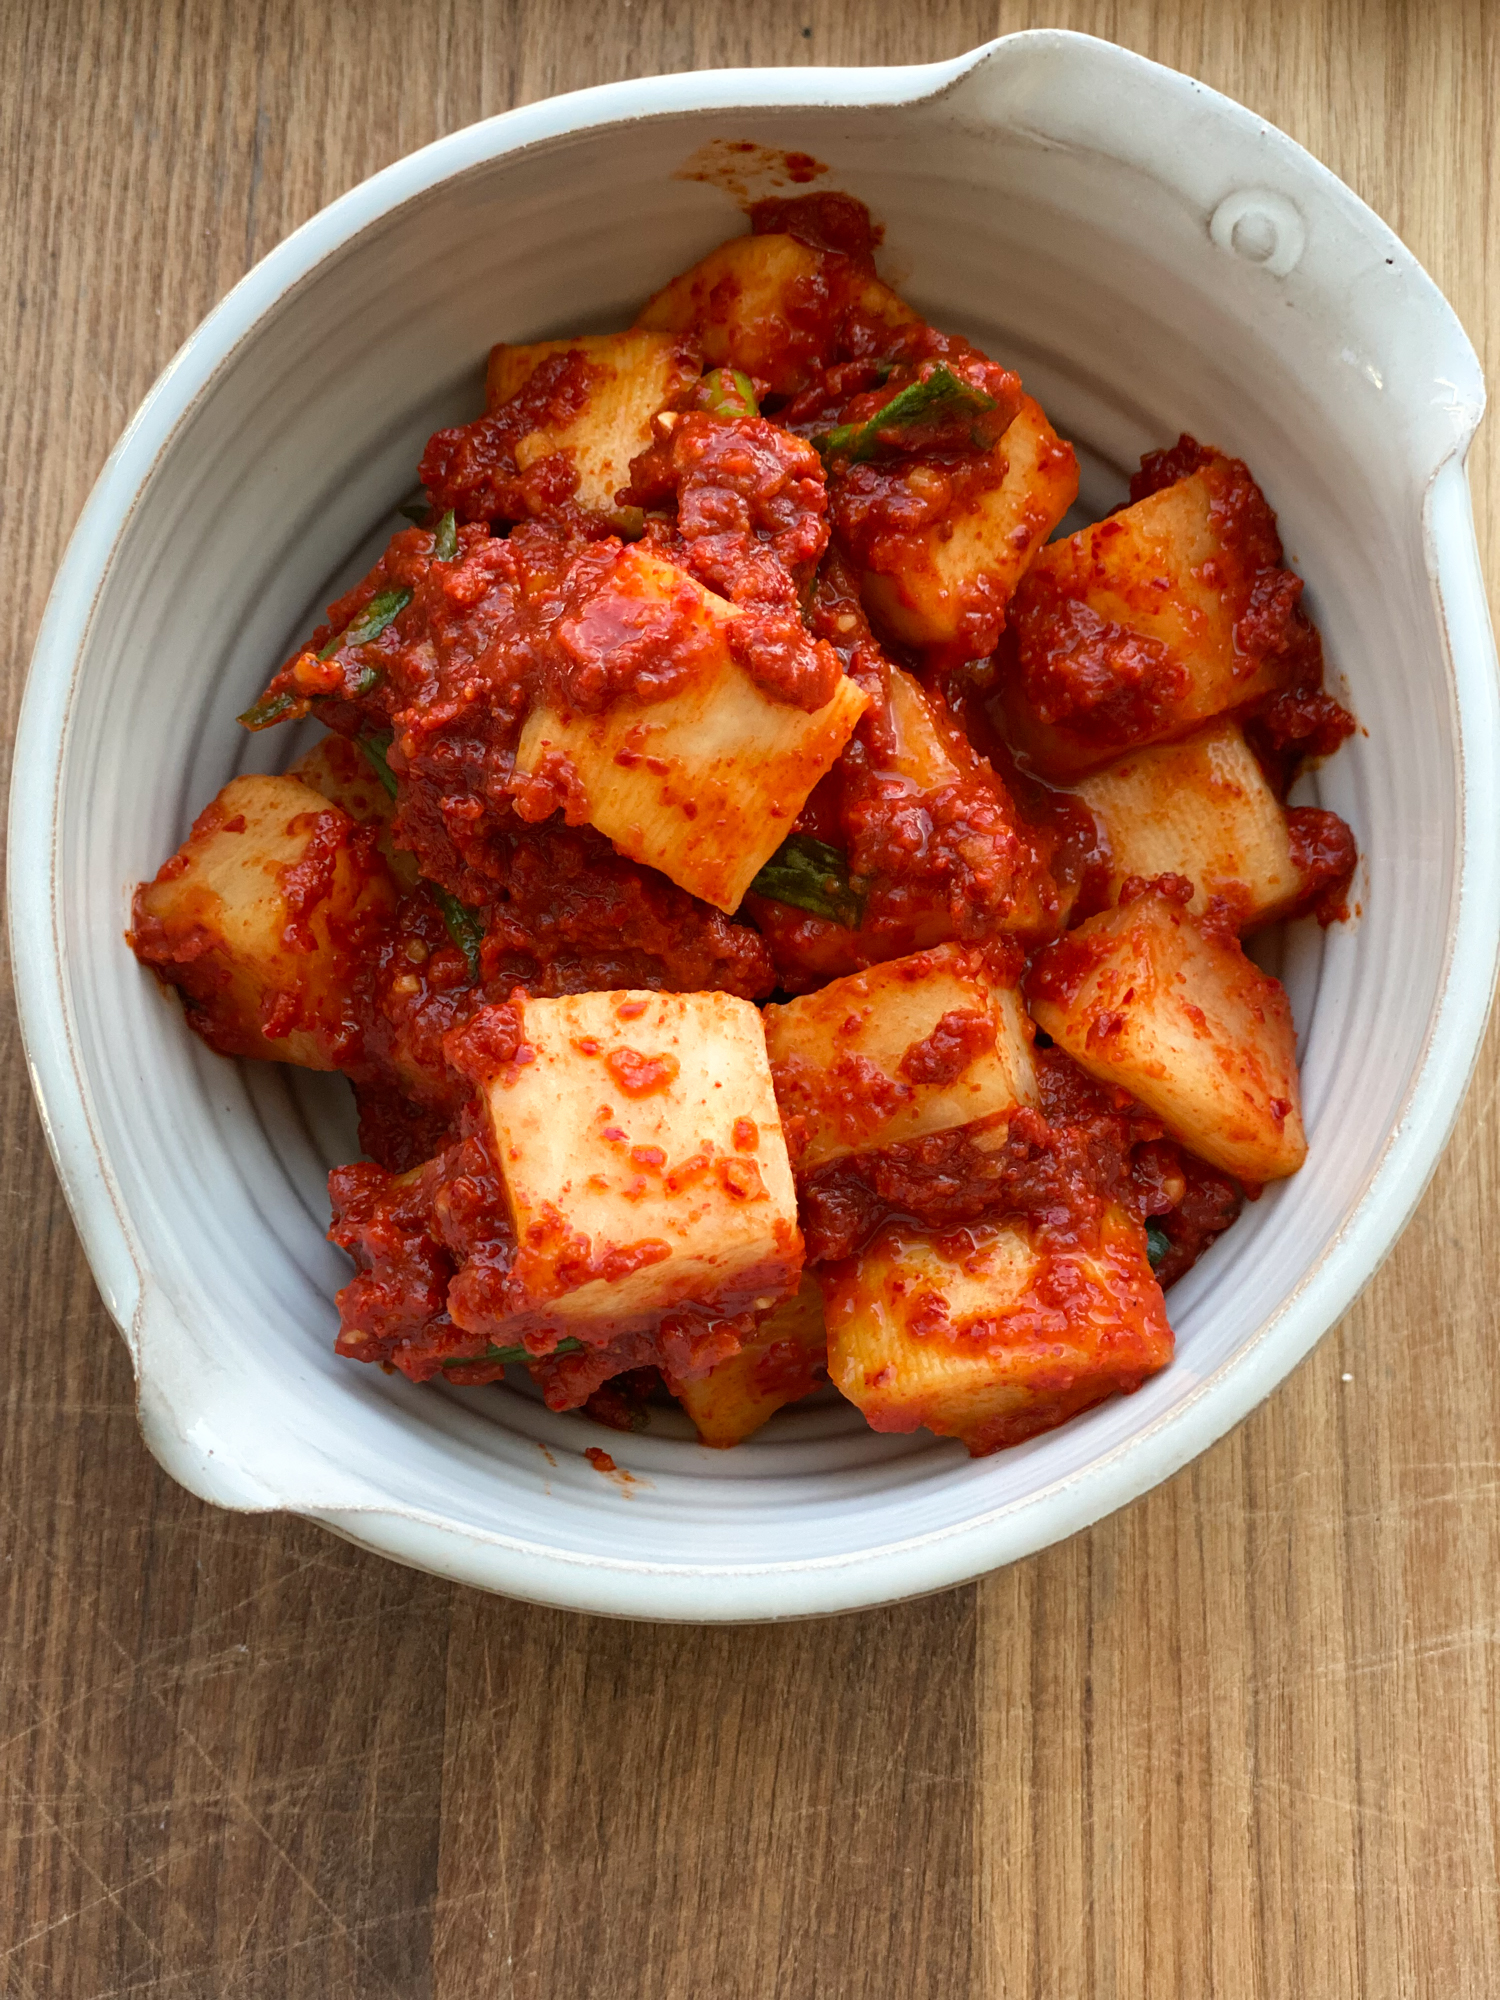
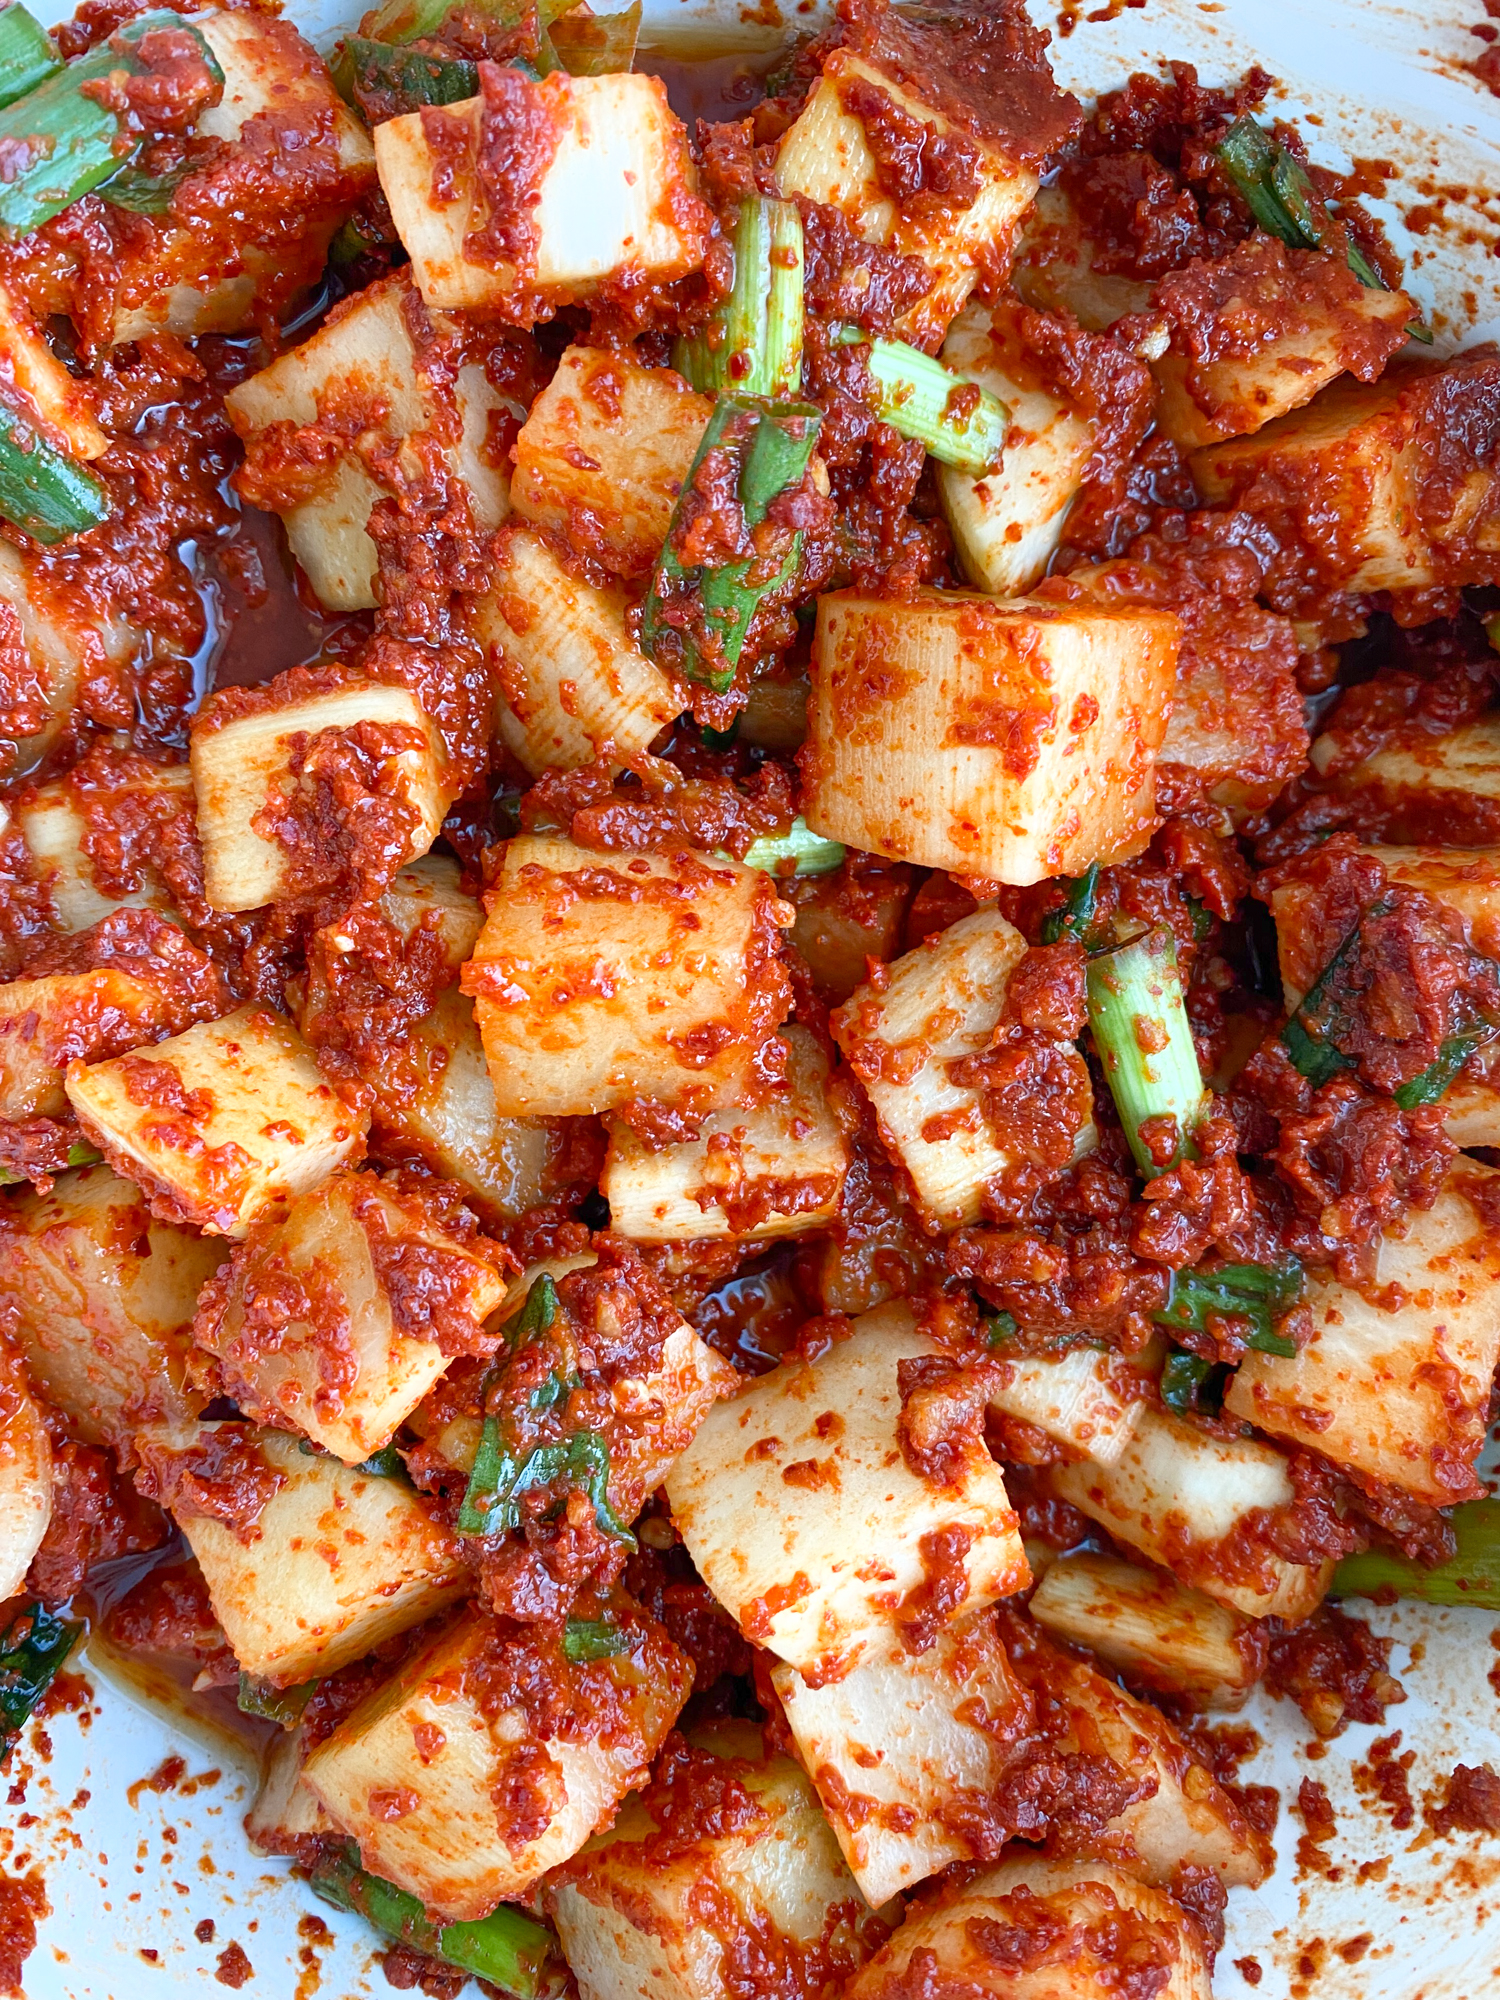
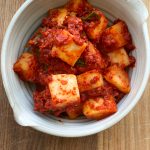
Kkakdugi: Cubed Radish Kimchi! This kimchi is made using Korean radishes and mixed with a spicy and delicious gochugaru blend. Next to cabbage kimchi and cucumber kimchi, Kkakdugi is a favorite of mine and it’s so easy to make!
I seem to be working my way down all the different types of kimchi for you guys! This recipe was requested by someone who had tasted it once but couldn’t find a good recipe to make at home. There are several Kkakdugi recipes online. Most of them are very similar. Some differ by adding rice flour and some add saeujeot (finely minced salted shrimp). It’s just like regular cabbage kimchi. Everyone has a different and personal way of making this.
Similar to my aunt’s kimchi recipe, I blended some apple and pear instead of adding sugar.
This Kkakdugi Cubed Radish Kimchi recipe calls for a Korean radish. If you can’t get your hands on one, a daikon radish will work as well. If you don’t have a Korean market close by, there are now so many options online: Weeee! and Umami Cart just to name a couple!
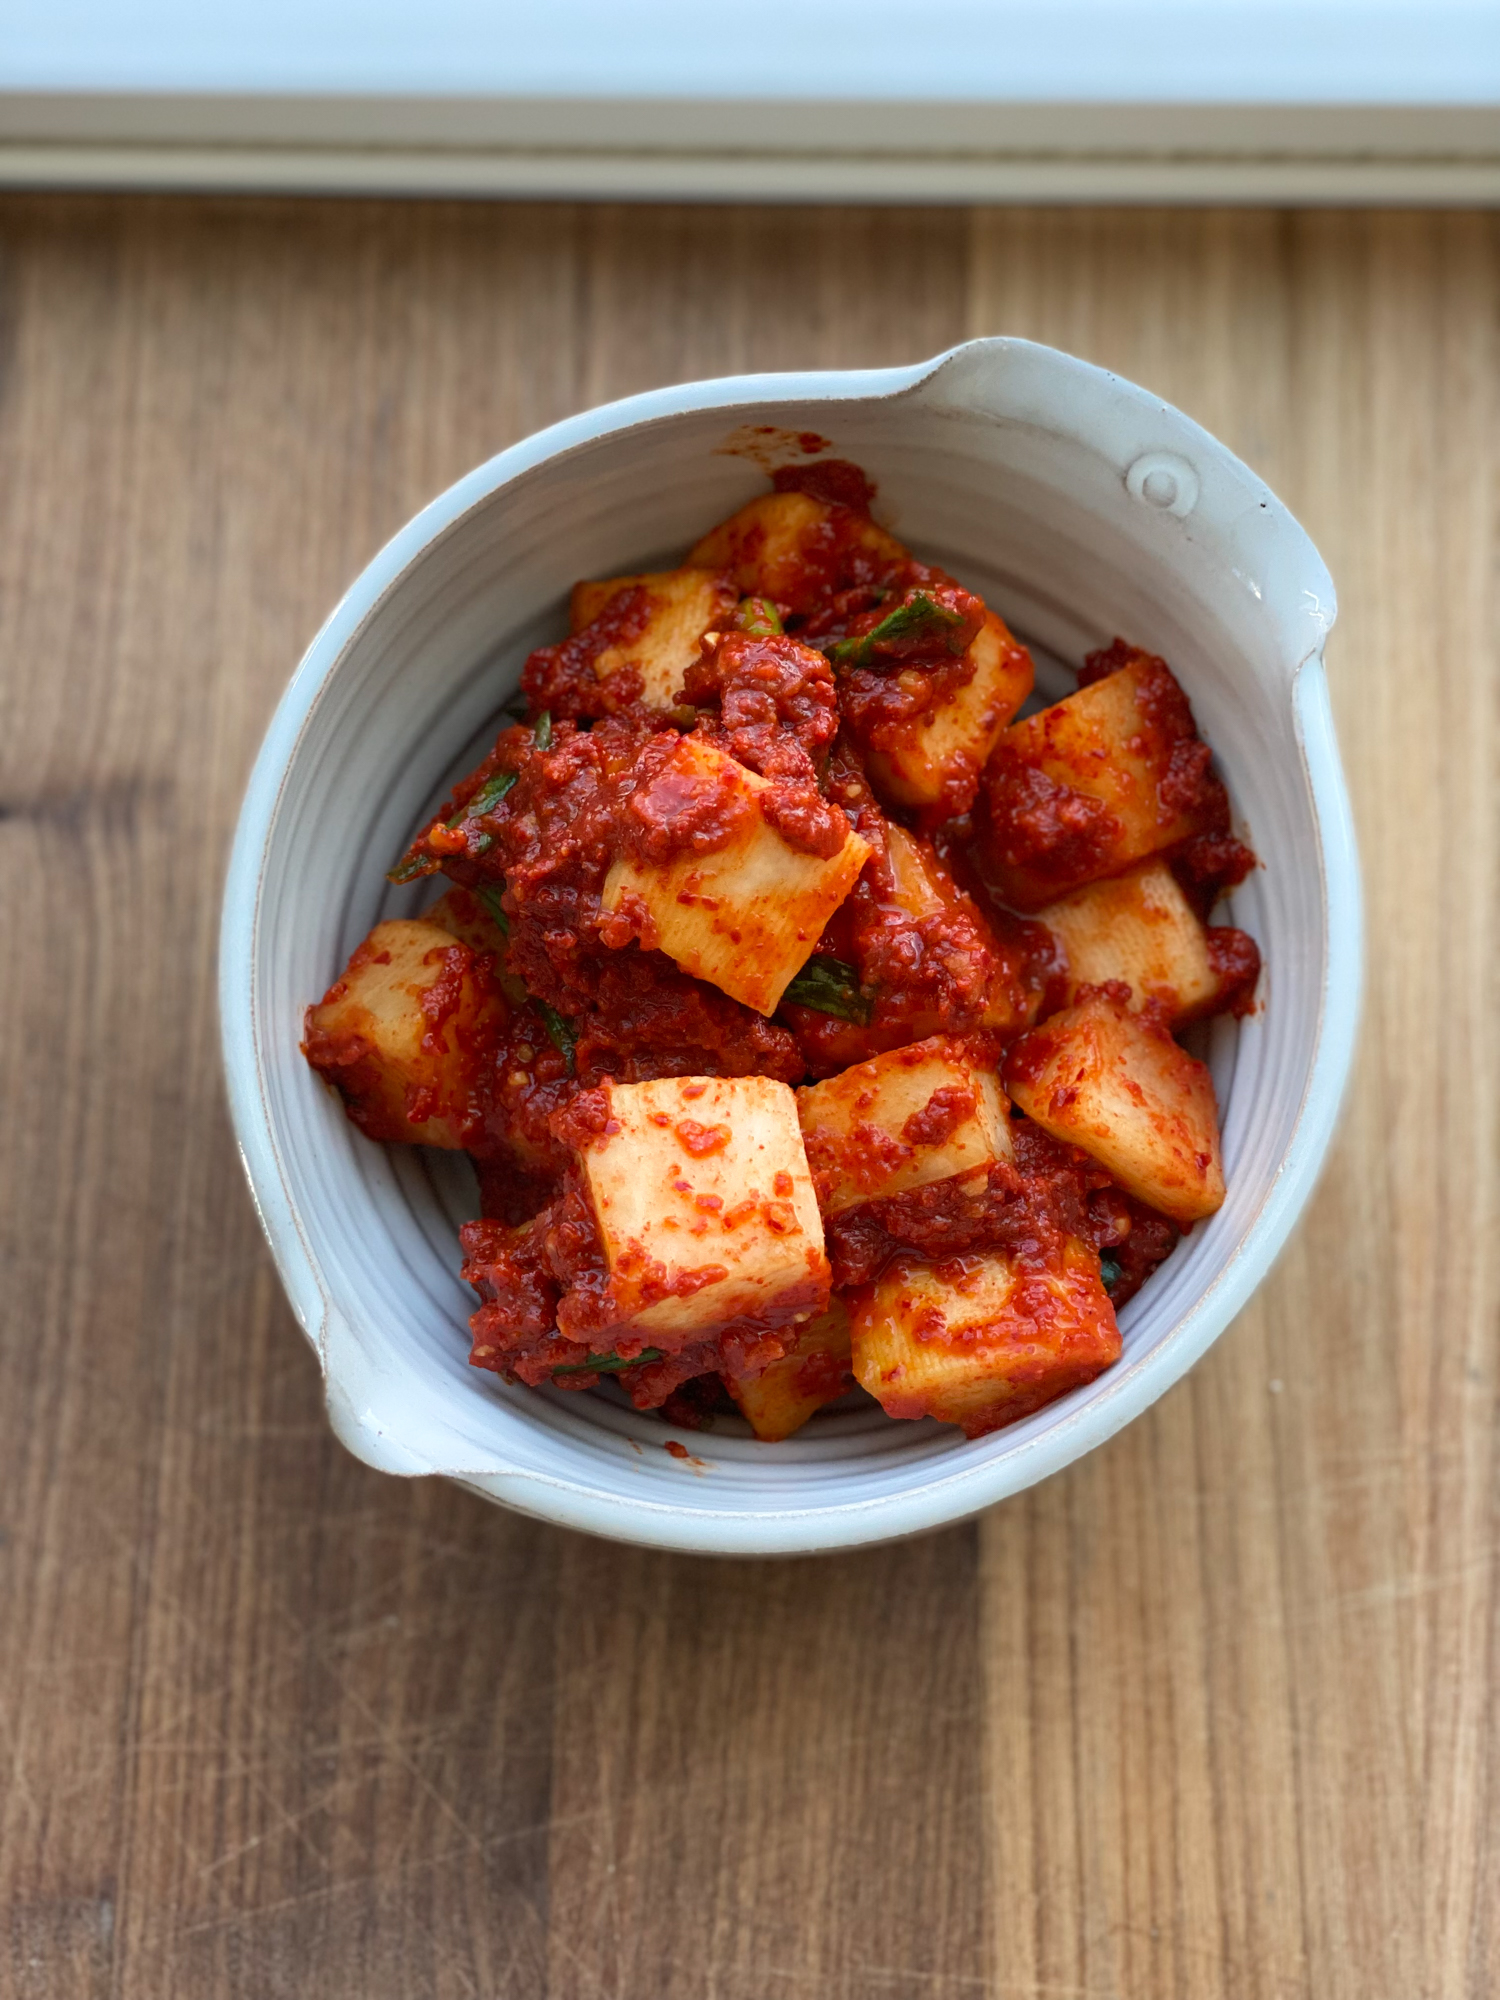
Kkakdugi Cubed Radish Kimchi
Similar to cabbage kimchi, you’ll want to leave your Kkakdugi out on your kitchen counter at room temperature for 1 to 4 days, waiting to put in the fridge after you see fermentation starting with small bubbles (if desired). Alternatively, you can just leave it out for 1-2 days and then refrigerate. Storing in a large glass jar with a good fitting lid is best.
Kkakdugi Cubed Radish Kimchi
Equipment
- food processor, blender or mini chopper
Ingredients
- 4 lbs. Korean radish or daikon radish
- 2 tablespoons coarse sea salt
- 1/2 cup Fuji apple or Honeycrisp; peeled and cubed
- 1/2 cup Korean or Bosc pear peeled and cubed
- 2 tablespoons fish sauce*
- 2 tablespoons minced garlic
- 1 teaspoon grated ginger
- 2/3 cup gochugaru (Korean hot pepper flakes)
- 4 or 5 green onions cut into 1-inch pieces
Instructions
- Peel your radishes and cut into cubes. Place into a large bowl and sprinkle the coarse sea salt over the top. Mix with your hands and let the radishes sit for about 30 minutes.
- While the radishes are sitting, using a food processor or mini chopper, blend the apples and pears until smooth. Place the puréed and blended fruit into a bowl. If you don't want this much sweetness, add only HALF of the puréed and blended fruit. Add in the fish sauce, garlic, ginger and gochugaru. After 30 minutes, drain the water from the radishes into the bowl with the gochugaru. Mix everything together until well combined. Taste and adjust anything as needed.
- Add in the kimchi paste into the same large bowl with the radishes and add in the green onions. Mix together until the radishes are well coated. Place the kkakdugi into a glass jar and gently press down on the top to remove any air from between the radish cubes.
- Fermentation: Once stored in a glass jar or container, leave the kkakdugi out on your kitchen counter at room temp for 1 to 3 days, waiting to put in the fridge after you see fermentation starting with small bubbles. After that, store in the refrigerator. Kkakdugi can last up to 2-3 months or longer in the fridge but it may get very sour in taste. I'd say try to eat it within 4-5 weeks.